

Blog . Applying Texture in Photoshop
Blog
11/08/16 | Posted by LeAnn Troutner | Posted in Digital Creativity
I have found this to be super helpful this semester as I started my major classes. I have started classes in Interior Architecture and rendering the created elevations in Photoshop can be easy but looks ten times better when using this trick of adding texture.
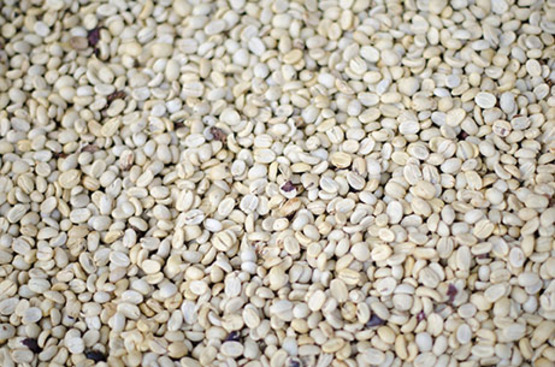
Simply find the texture online, best to use an image of texture that is allowed to be reused for free. For my example I am using found images from Pixabay. I will add a rock texture to this cosmos of color.

Pull that image file into your file where you desire the texture. Once in there turn the layer options onto ‘Multiply’.
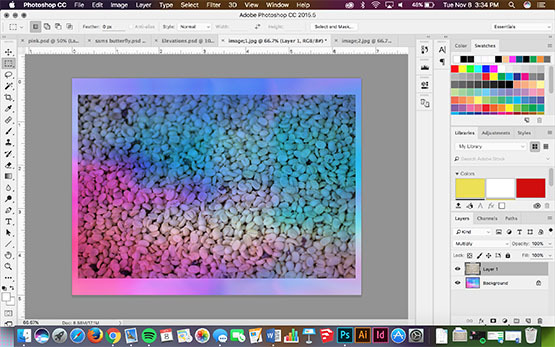
This darkens the image as well as turn it transparent. Now move and transform the image how you want it. Is it how you want it, size and placement? Now let’s pretend where you want it and the size you want it leaves extra of the image that you don’t need. This is where we would be on the texture layer and create a box around the area of the texture you want, try to be as accurate as you can be.
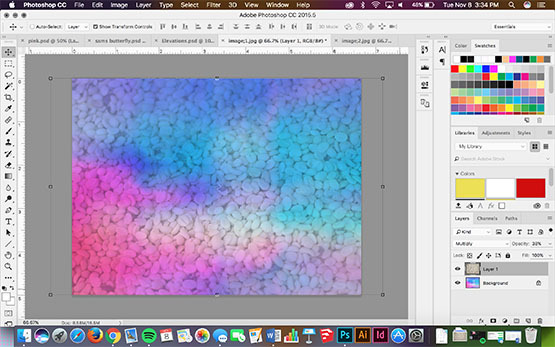
Now left click (control click) and find ‘Layer via cut’.
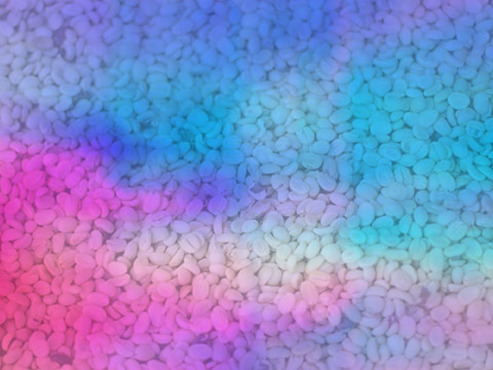
There now you have the exact texture you want where you want it. This is easy and simple. You can add texture to any spot you want. Want a specific color? Add and layer of the color underneath the texture. This can be useful in many different ways and many different assignments. Try it!
-
Comments
0

- Tweet